Introduction
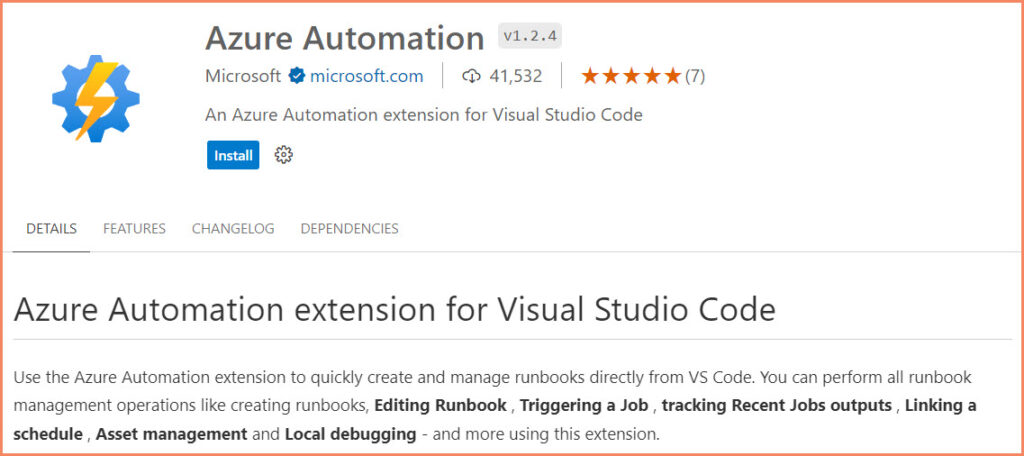
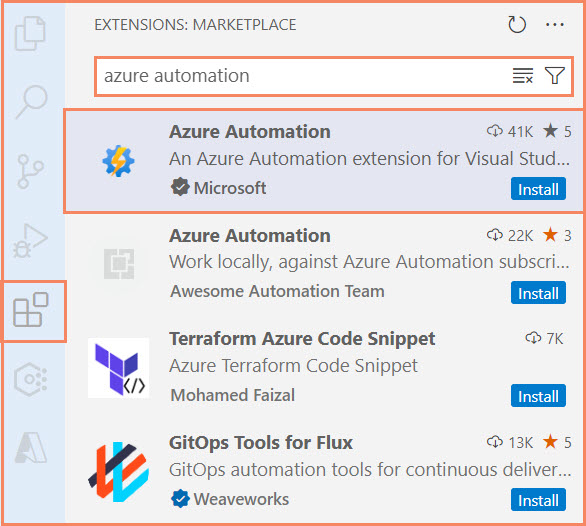
The Azure Automation Visual Studio Code Extension enables cloud engineers, system administrators and developers to create and manage Azure Automation runbooks directly within VS Code, offering features like local authoring, job tracking, and asset management. This guide will walk you through the process of configuring and using this extension to streamline your Azure Automation workflows.
Azure Automation Overview
Azure Automation is a cloud-based automation service provided by Microsoft that enables consistent management across Azure and non-Azure environments. It offers the following services:
- Process automation
- Configuration Management (Deprecated)
- Replaced with Azure Machine Configuration Services
- Update Management (Deprecated)
- Replaced with Azure Update Manager
- Change Tracking and Inventory (Deprecated)
- Replaced with V2.
- Shared Capabilities to automate frequent, time-consuming, and error-prone management tasks
Key features include shared resources like schedules, modules, credentials, and variables, as well as role-based access control for secure management. Azure Automation supports authoring of graphical, PowerShell, and Python runbooks, allowing users to automate various aspects of their infrastructure and applications. It can be used for deploying and managing resources, responding to events, and orchestrating complex workflows by integrating with other Azure services or third-party products.
This service is particularly useful for IT administrators and system operators who aim to reduce operational costs, minimize errors, and improve efficiency in managing cloud and on-premises resources
Requirements for VS Code Extension
- Azure Automation Account
- Permission to manage Azure Automation Account
- Visual Studio Code
VSCode Winget Installation
Visual Studio Code can be easily installed on Windows using the Windows Package Manager, also known as winget. To install VS Code using winget, simply open a command prompt or PowerShell window and execute the following command:
winget install Microsoft.VisualStudioCode
This command automatically downloads and installs the latest version of VS Code on your system. Winget is available by default in Windows 10 & Windows 11, making it a convenient option for installing software on Windows systems. For those who prefer graphical interfaces, VS Code can also be installed directly from the Microsoft Store with a single click. These installation methods provide quick and straightforward ways to get VS Code up and running.
Subscription Selection via Command Palette
The Command Palette in Visual Studio Code provides a quick way to access various commands. To select Azure subscriptions open the Command Palette, then, type “Azure: Select Subscriptions” and select the command from the list. This will bring up a menu where you can choose the subscriptions you want to use for your Azure Automation tasks.
Extension User Experience
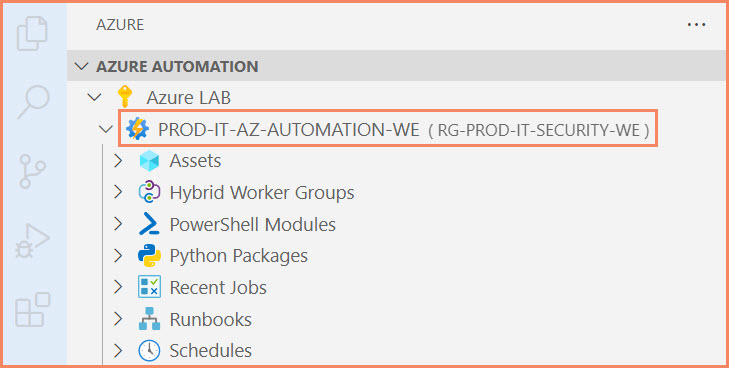
Upon successfully selecting a subscription through the Azure Automation Visual Studio Code extension, you will gain full visibility into various components of your Azure Automation account. This includes access to your Assets, Recent Jobs, Runbooks, Schedules, and more. The extension’s interface is designed to provide a seamless and integrated experience, allowing you to manage and monitor all aspects of your automation tasks directly within Visual Studio Code.
Creating a New Runbook Using VS Code Extension
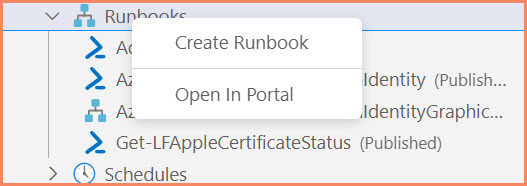
When using the Azure Automation Visual Studio Code Extension, creating a new runbook is straightforward and can streamline your automation tasks. To begin, open the Azure Automation Account in the VS Code explorer pane. Right–click on the ‘Runbooks‘ folder and select ‘Create Runbook‘ from the context menu that appears.
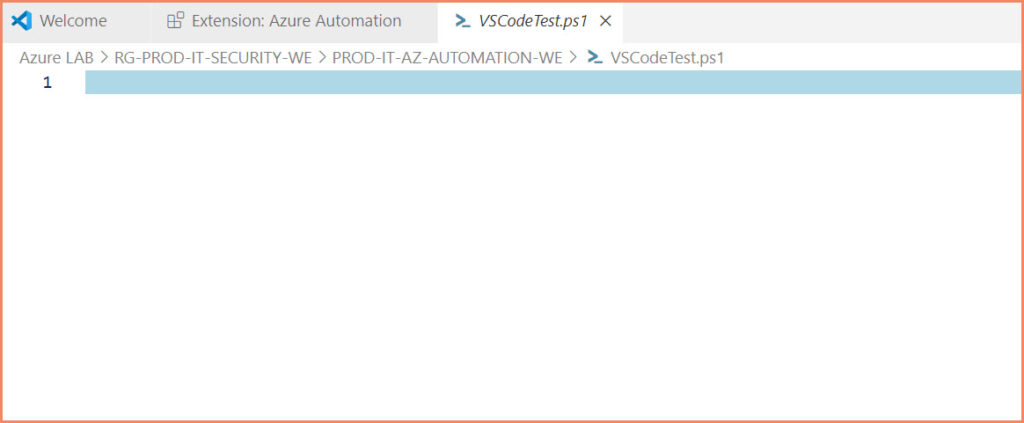
You will then be prompted to enter a name for your new Runbook.
After naming your runbook, select the type of runbook you want to create (e.g., PowerShell, Python, etc.).
Once selected, the extension will generate a template for the runbook type chosen, allowing you to start scripting immediately within VS Code, leveraging the full capabilities of the IDE for editing and debugging your automation scripts.
Managing and Testing Azure Runbooks with VS Code Extension
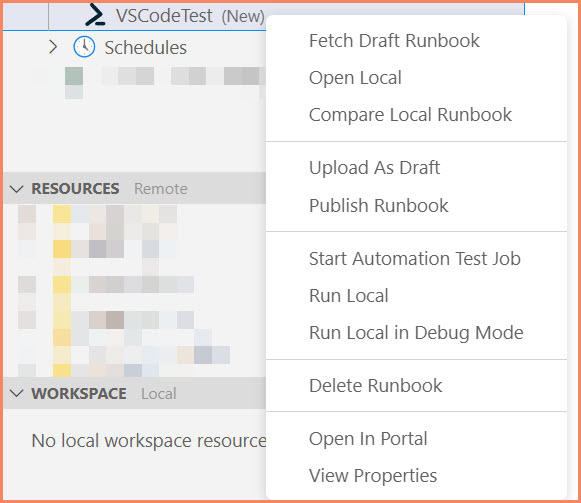
After creating a runbook in Visual Studio Code with the Azure Automation extension, you have several options to manage and test your runbooks:
- Fetch Draft Runbook
- Retrieve the latest draft version of your runbook.
- Open Local
- Access a locally saved version of your runbook.
- Compare Local Runbook
- Compare your runbook with a local version to track changes.
- Upload As Draft
- Update your runbook by uploading the latest version as a draft.
- Publish Runbook
- Release your runbook to make it available for use.
- Start Automation Test Job
- Execute a broader test scenario using your runbook.
- Run Local
- Test the runbook execution directly in your local environment.
- Run Local in Debug Mode
- Debug your runbook by running it step-by-step in your local setup.
- Delete Runbook
- Remove your runbook if it’s no longer needed.
- Open In Portal
- Manage your runbook settings directly in the Azure portal.
Runtime Environment Limitations in Visual Studio Code Extension
When publishing Runbooks through the Visual Studio Code extension for Azure Automation, there is one limitation: the extension defaults to using system-generated runtime environments and does not currently offer the option to select custom runtime environments.
This means that you need to change the runtime environment after the publishing.
Conclusion
The updated Azure Automation extension for Visual Studio Code marks a substantial improvement by simplifying the setup process and enhancing usability. It removes the need for a service principal and introduces an easier, more intuitive user experience with a clear navigation menu on the left side for accessing assets and settings. The extension allows for direct creation, management, and local debugging of runbooks within VS Code, streamlining operations without the need to switch tools.
While there are some limitations, such as not supporting the creation of new schedules directly through the extension, the overall enhancements make it a superior tool, especially beneficial for system administrators, developers, and cloud engineers engaged in Azure Automation.


